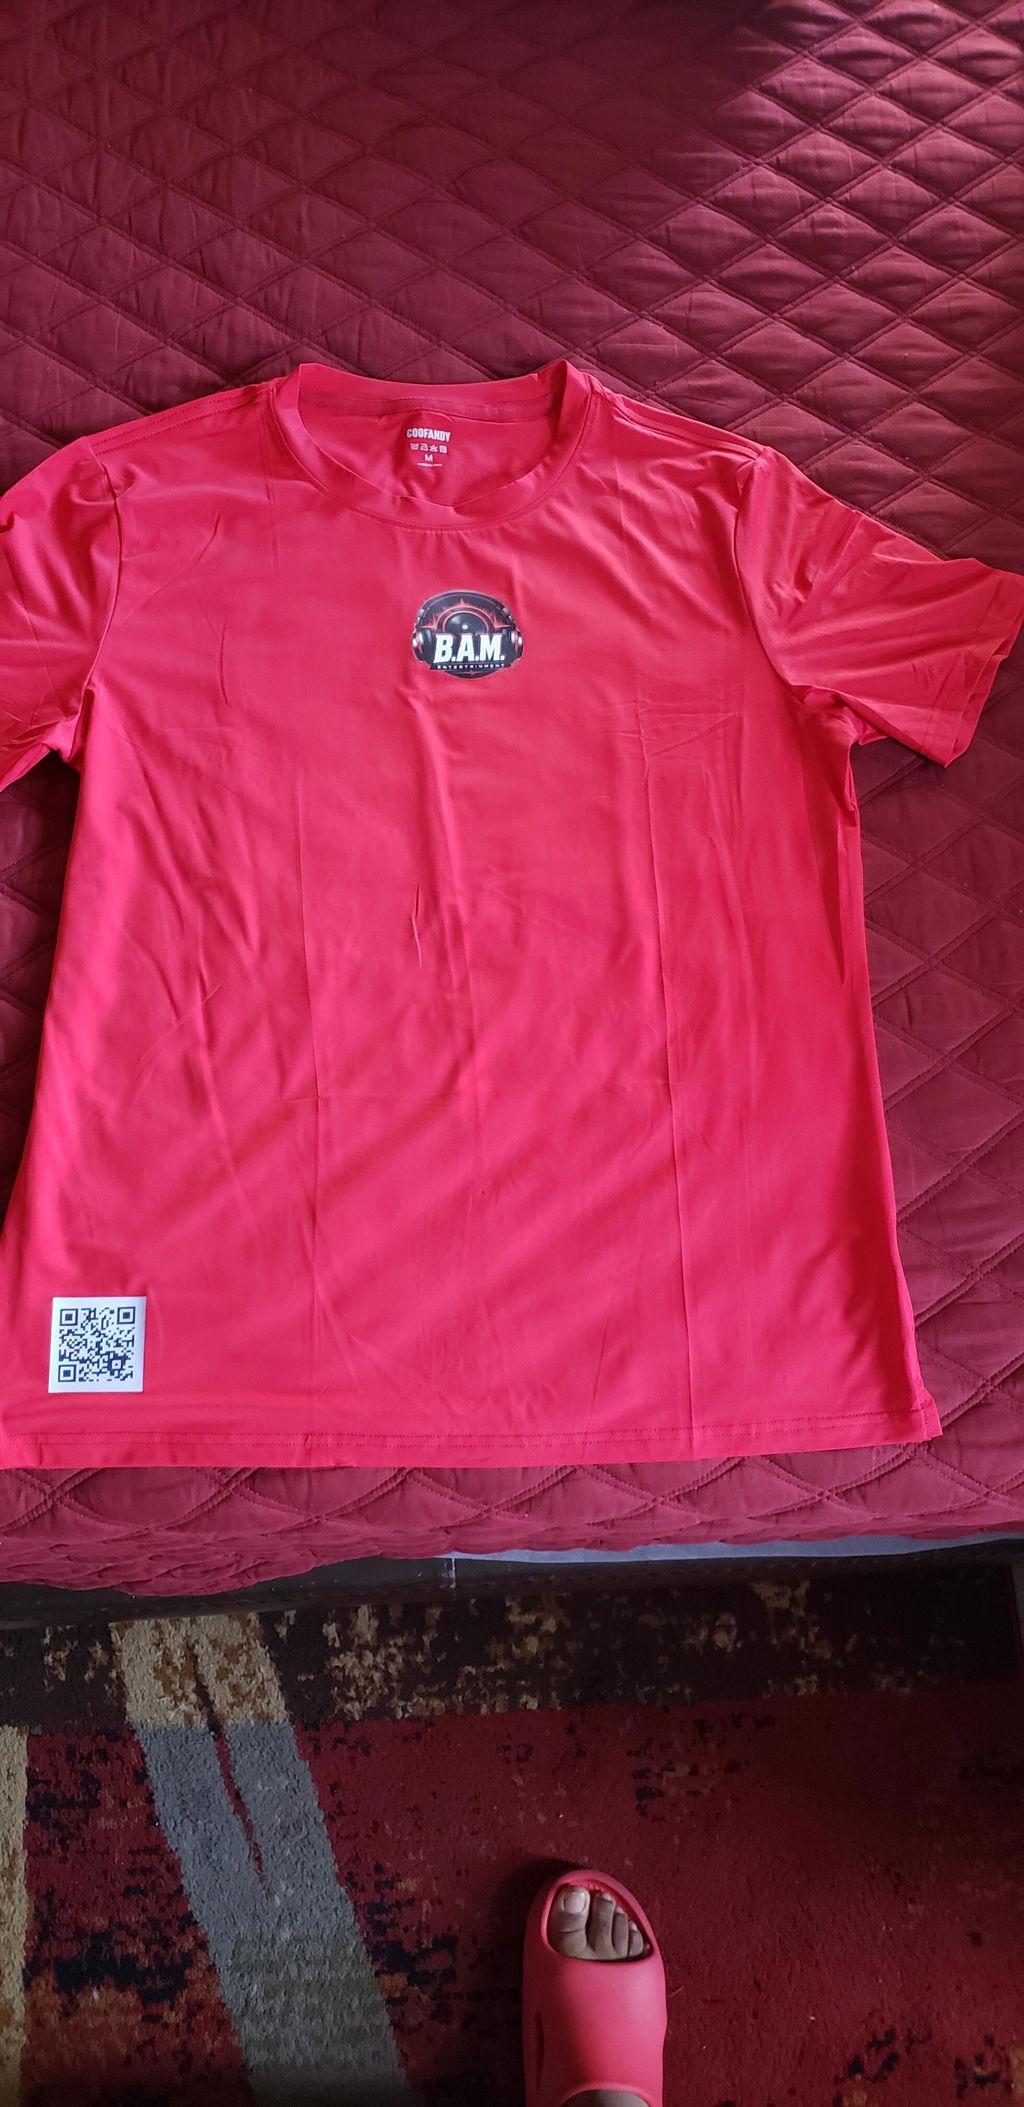
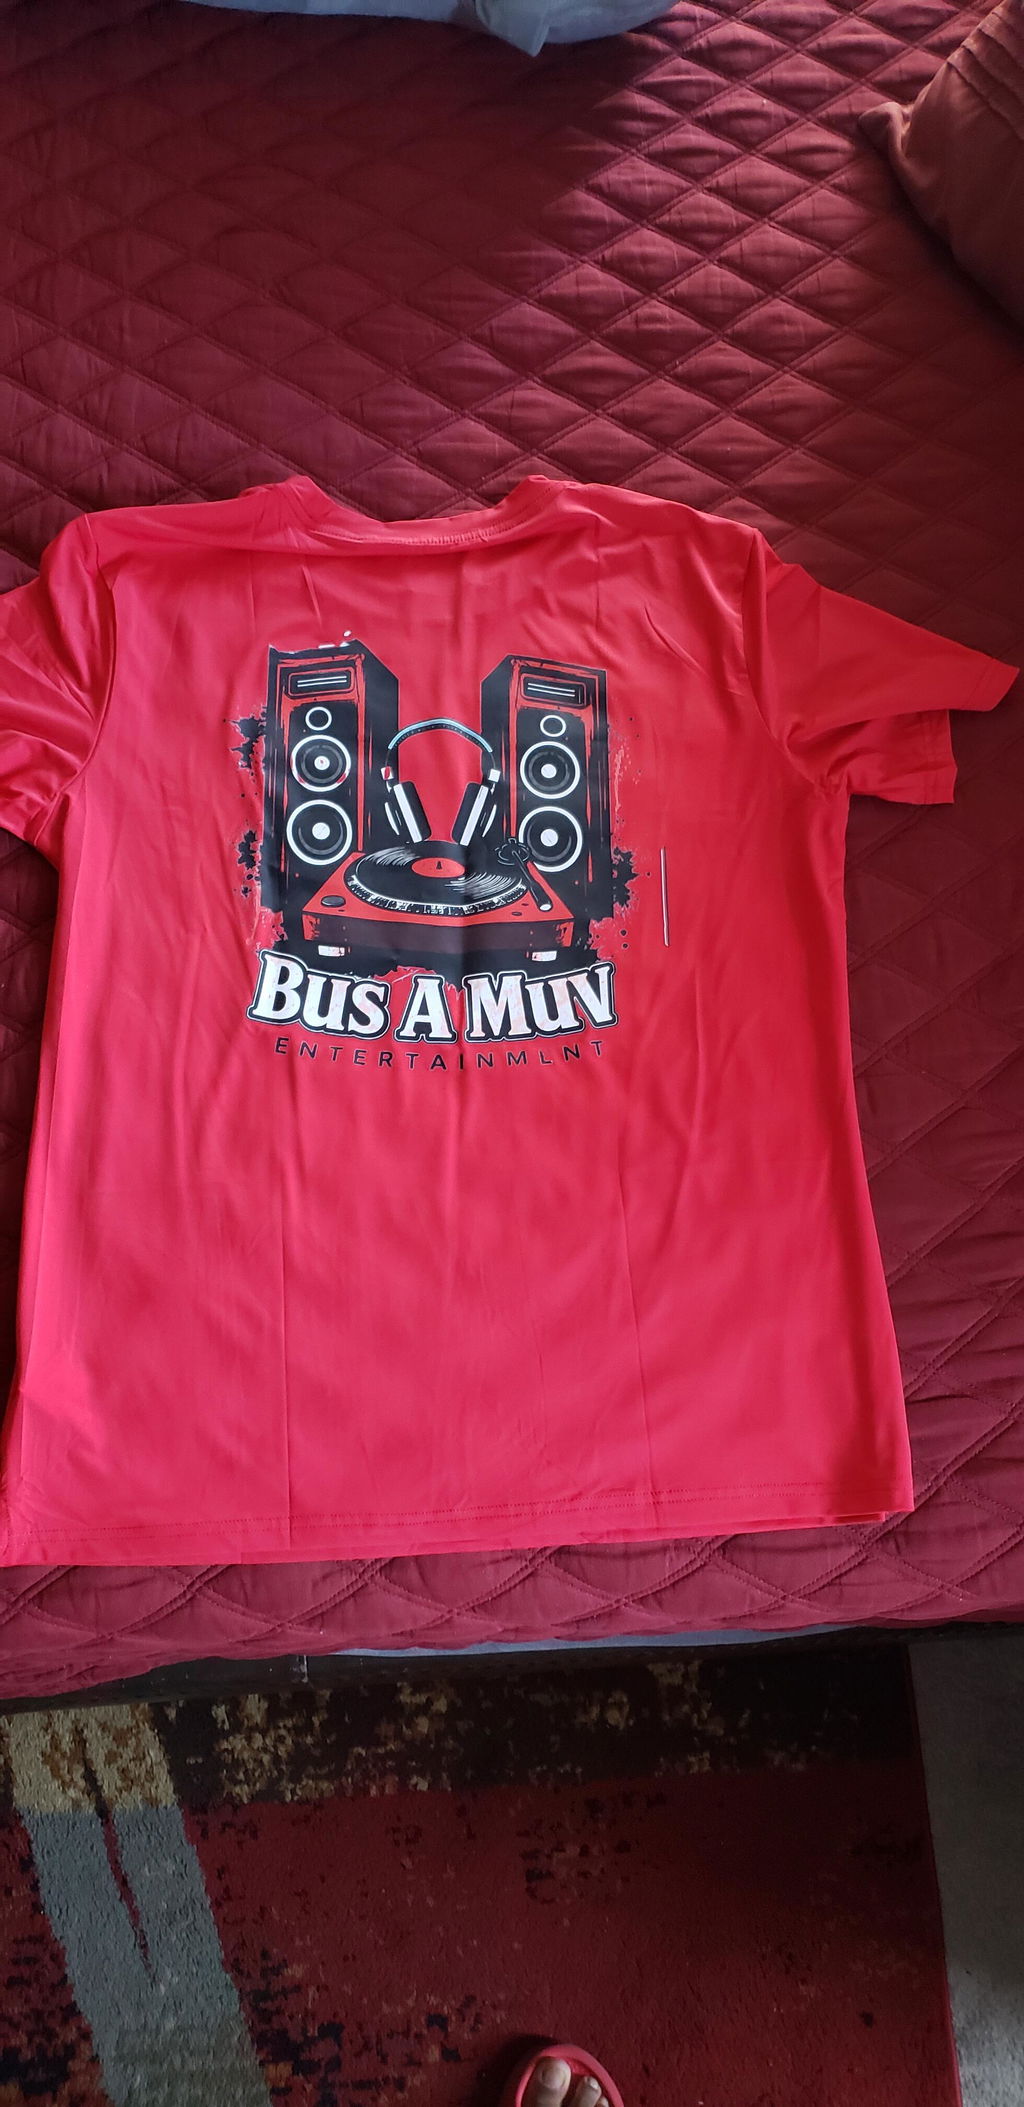
Transfers for neck labels are small DTF graphics used to add brand names, logos, garment sizes, care details, and other label information inside compatible apparel. They provide a tagless labeling option that can be heat applied directly to a suitable inner-neck print area without adding a separate sewn label.
Tagless Branding Add brand and garment information directly to a compatible inner-neck area.
Small-Format Artwork Combine logos, sizes, text, and simple label details within a compact design.
Repeatable Labels Prepare consistent label versions for different garment sizes and apparel runs.
What Are DTF Transfers for Neck Labels?
DTF neck label transfers are compact heat-applied graphics designed for the inside neckline of suitable garments. Instead of using the transfer as a visible front or back decoration, the artwork functions as part of the garment's internal branding and identification system.
A neck label design can include information such as:
- Brand name
- Brand logo
- Garment size
- Care information
- Fiber or material information
- Country-of-origin information where applicable
- Website or brand identifier
- Other required or useful garment details
Use Neck Label Transfers for Tagless Apparel Branding
Tagless neck labels place the label information directly on a suitable garment surface rather than adding another physical tag to that location.
This can be useful for private-label apparel, branded merchandise, custom clothing collections, employee apparel, event merchandise, and other projects where the inside of the garment should carry consistent brand information.
What Should a Neck Label Include?
The correct content depends on the garment, brand, market, and applicable labeling requirements. Separate the information that is legally required from information that is included only for branding or customer convenience.
Possible Neck Label Content
-
Brand: Name, logo, or approved brand mark
-
Size: XS, S, M, L, XL, or another sizing system
-
Material: Fiber information where required
-
Care: Applicable garment care information
-
Origin: Country-of-origin information where required
-
Additional details: Website, product line, or internal reference when appropriate
Important: A custom neck transfer does not automatically satisfy apparel-labeling laws. Determine which information must appear on the garment and where it must appear for the market in which the product will be sold.
Keep Neck Label Artwork Simple and Readable
Neck labels usually have much less available space than front or back apparel graphics. This makes hierarchy and readability especially important.
Start with the most important information. Avoid adding unnecessary decorative elements if they make the size, care details, or other required text difficult to read.
Create a Clear Information Hierarchy
A label might place the brand or logo first, the garment size second, and supporting information below. The exact arrangement depends on the artwork and available print area.
Do not assume that text will remain readable simply because it fits on the digital canvas. Review the artwork at its intended finished size.
Choose the Finished Neck Label Size Carefully
There is no single transfer size that fits every shirt, hoodie, sweatshirt, or other garment. Measure the actual inner-neck print area before finalizing the label dimensions.
Consider:
- Collar width
- Collar seam position
- Existing manufacturer labels
- Garment size
- Available flat press area
- Artwork proportions
- Amount of text
The goal is to create a label that fits naturally within the available area without interfering with seams or other garment construction.
Create Separate Labels for Different Garment Sizes
If the apparel order contains multiple sizes, organize the neck label artwork accordingly. A Small garment should receive the approved Small label, while Medium, Large, XL, and other sizes should use their corresponding versions.
A simple production system can use one master design with controlled size variations.
Example Label File Structure
- Brand-Neck-Label-S.png
- Brand-Neck-Label-M.png
- Brand-Neck-Label-L.png
- Brand-Neck-Label-XL.png
- Brand-Neck-Label-2XL.png
Clear file naming helps reduce the chance of applying the wrong size label during production.
Prepare Artwork for Small Neck Label Transfers
Because neck labels can contain small typography and fine details, artwork preparation matters. Review the design at the final transfer dimensions rather than only while zoomed in on a computer screen.
Artwork Checklist
- Use the approved brand artwork.
- Confirm garment size information.
- Check every word for spelling errors.
- Use high-resolution artwork.
- Use a transparent background where required.
- Avoid unnecessarily small decorative details.
- Review text at the intended finished size.
- Confirm the final width and height before ordering.
Consider the Garment Color
The relationship between the transfer artwork and garment color matters even when the graphic is inside the shirt. A neck label should provide enough visual contrast for the intended information to be readable without unnecessarily dominating the garment.
Test the artwork on the actual garment color when visibility through lightweight material or overall appearance is a concern.
Thin and Lightweight Garments Need Extra Attention
Lightweight garments may behave differently from heavier apparel. Before producing an entire order, inspect whether the neck label is visible from the outside of the garment and whether the application process changes the appearance of the fabric.
Do not assume one ink color or label configuration will be invisible through every white or lightweight shirt. Test the actual garment.
Explore DTF Transfers for Custom Apparel
Find transfer options for branding, apparel graphics, and custom clothing projects.
Browse DTF Transfers
How to Position a Neck Label Transfer
Placement should be consistent across garments in the same production run. Use the collar and center line as references, while also accounting for the garment's construction.
-
Turn or position the garment: Expose the intended inner-neck print area.
-
Identify the center: Use the collar or garment construction as a visual reference.
-
Check seams: Keep the transfer within a suitable flat pressing area.
-
Measure placement: Use the same reference measurement for repeated garments.
-
Position the transfer: Confirm orientation before pressing.
-
Apply as directed: Follow the current transfer application instructions.
-
Inspect: Check alignment and readability before continuing the batch.
Heat Pressing Neck Label Transfers
The correct pressing process depends on the transfer and garment combination. Use the current application instructions for the transfer and confirm that the garment can tolerate the required heat and pressure.
Avoid using a single temperature and time as a universal neck-label setting across every fabric and transfer type.
Before a larger run, evaluate:
- Garment response to heat
- Transfer placement
- Pressing result
- Text readability
- Peel behavior
- Finished inner-neck appearance
Can Neck Labels Replace Sewn Labels?
A DTF neck label can replace certain branding or identification functions of a sewn label, depending on the garment and project. However, removing a sewn manufacturer label does not remove any applicable legal labeling obligations.
Before converting a garment to a tagless presentation, determine what information must remain on the finished product and whether it must appear in a particular format or location.
Do Not Press Directly Over an Existing Label Without Testing
An existing printed, heat-applied, or sewn label can change the surface beneath a new transfer. If relabeling garments, first determine what is already present and whether the intended print area provides suitable contact with the actual garment fabric.
Applying one transfer directly over another should not be treated as a universal relabeling method.
Use Gang Sheets for Multiple Neck Labels
Because neck labels are relatively small compared with large apparel graphics, multiple labels can be organized together within a gang sheet layout.
A single layout might contain:
- Small labels
- Medium labels
- Large labels
- XL labels
- Additional replacement labels
The number that fits depends on each label's dimensions, gang sheet size, spacing requirements, and layout arrangement. Avoid promising a fixed quantity without calculating the actual artwork.
Organize Neck Labels Before Production
Small transfers can look similar when several garment sizes use the same branding. Organize them before pressing to reduce size-selection errors.
You can group transfers by:
- Garment size
- Garment style
- Brand
- Artwork version
- Production batch
Keeping labels separated by size is especially useful when processing mixed-size apparel orders.
Maintain Consistent Placement Across an Apparel Line
Consistent neck label placement makes separate garments feel like part of the same apparel system. Record the approved position instead of estimating it again during every production run.
For example, save:
- Distance from collar seam
- Label width and height
- Artwork version
- Garment style
- Garment sizes
- Placement notes
Save Neck Label Information for Reorders
If the same clothing line will be produced again, keep a reusable production record for the approved neck label.
Reorder Record
- Approved master artwork
- Size-specific artwork versions
- Finished transfer dimensions
- Garment brand and style
- Fabric composition
- Placement measurement
- Application instructions used
- Relevant production notes
This helps avoid recreating the label specifications from memory when replacement garments or a new production batch is required.
Neck Label Transfers vs. Standard Apparel Transfers
The main difference is purpose. A standard apparel transfer usually acts as a visible decorative graphic. A neck label transfer functions primarily as internal branding and garment information.
That changes the design priorities:
- Smaller finished dimensions
- Greater emphasis on text readability
- Consistent size identification
- Precise inner-neck placement
- Controlled artwork variations
Frequently Asked Questions About Transfers for Neck Labels
What are transfers for neck labels?
They are small heat-applied DTF graphics used inside compatible garments for brand names, logos, garment sizes, care details, and other label information.
Can DTF transfers be used as tagless neck labels?
They can provide a tagless branding option on compatible garments. Confirm the garment, transfer, required label information, and application process before production.
What information can I put on a custom neck label?
A design can include branding, garment size, care details, fiber information, origin information, and other appropriate content. Determine separately which information is legally required for your products.
What size should a DTF neck label be?
There is no universal size. Measure the garment's available inner-neck print area and select dimensions that keep the artwork readable without interfering with seams or collar construction.
Can I put multiple neck labels on a gang sheet?
Yes. Different sizes and repeated label designs can be arranged within a gang sheet. The quantity depends on label dimensions, sheet size, spacing, and layout.
Can I press a neck label over an existing printed tag?
Do not assume this will work on every garment. Existing ink, transfers, seams, or labels can affect the pressing surface and adhesion. Evaluate the actual garment first.
What temperature should I use for neck label transfers?
Follow the current application instructions for the transfer and verify the garment's heat tolerance. Do not use one temperature as a universal setting for every garment.
Should each garment size have a separate neck label?
If the label includes garment size, prepare and organize the appropriate artwork version for each size included in the apparel order.
Create Custom DTF Transfers for Neck Labels
Transfers for neck labels provide a compact way to add branding and garment information to suitable apparel. Keep the artwork readable, create controlled size variations, measure the inner-neck print area, confirm garment compatibility, and save the approved specifications for future production runs.
Browse DTF Transfers, explore Special DTF Transfers, or visit DTF Print Depot for additional options.