
Skip to content
LOCAL PICK UP - AVAILABLE 7/24 Shop now
SAME DAY PRINT AND SHIP - CUT OFF BY 3PM Shop now
FREE SHIPPING ON ALL U.S. ORDERS $99+ Shop now
Need help ?Address: 1550 Caton Center Dr, Suite H,
Arbutus, Maryland, 21227

Email: info@dtfprintdepot.com
Phone: (240) 904-4481
Home DTF Transfers For Hats
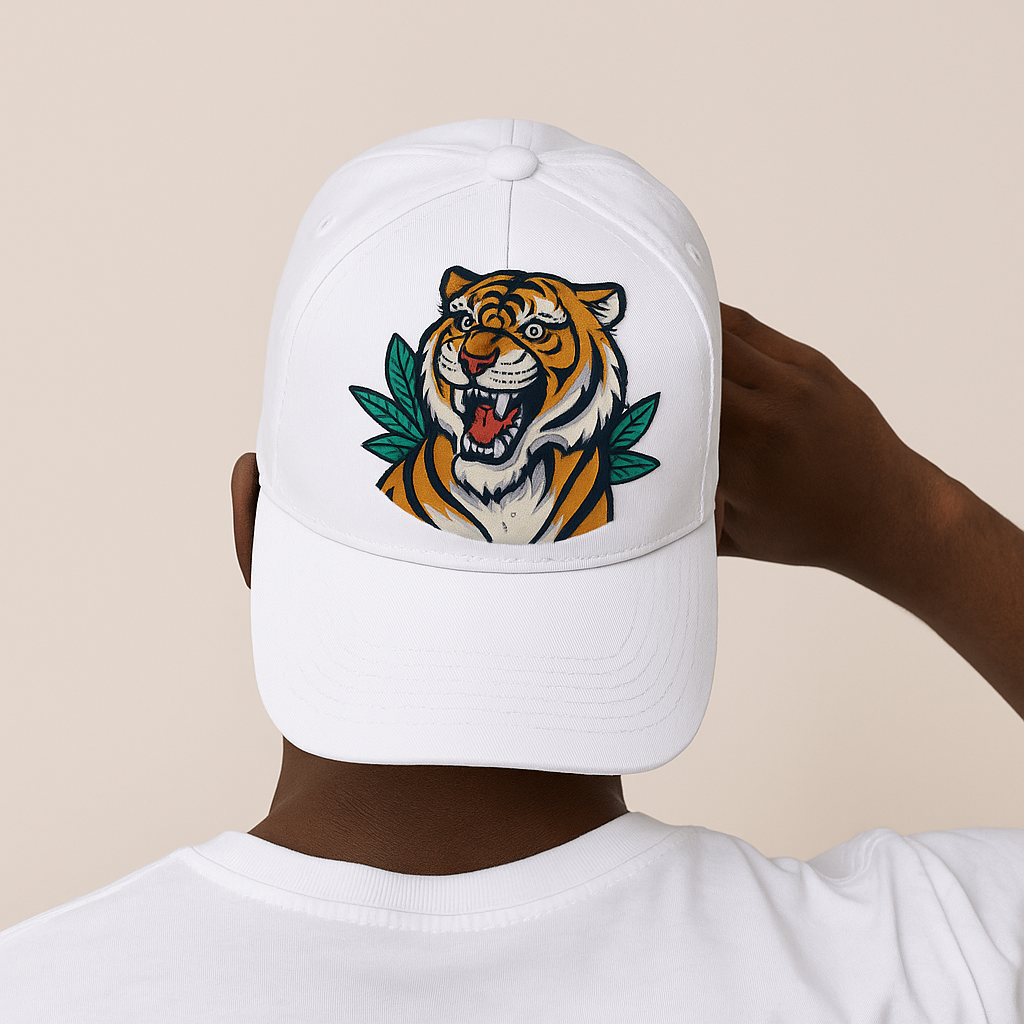
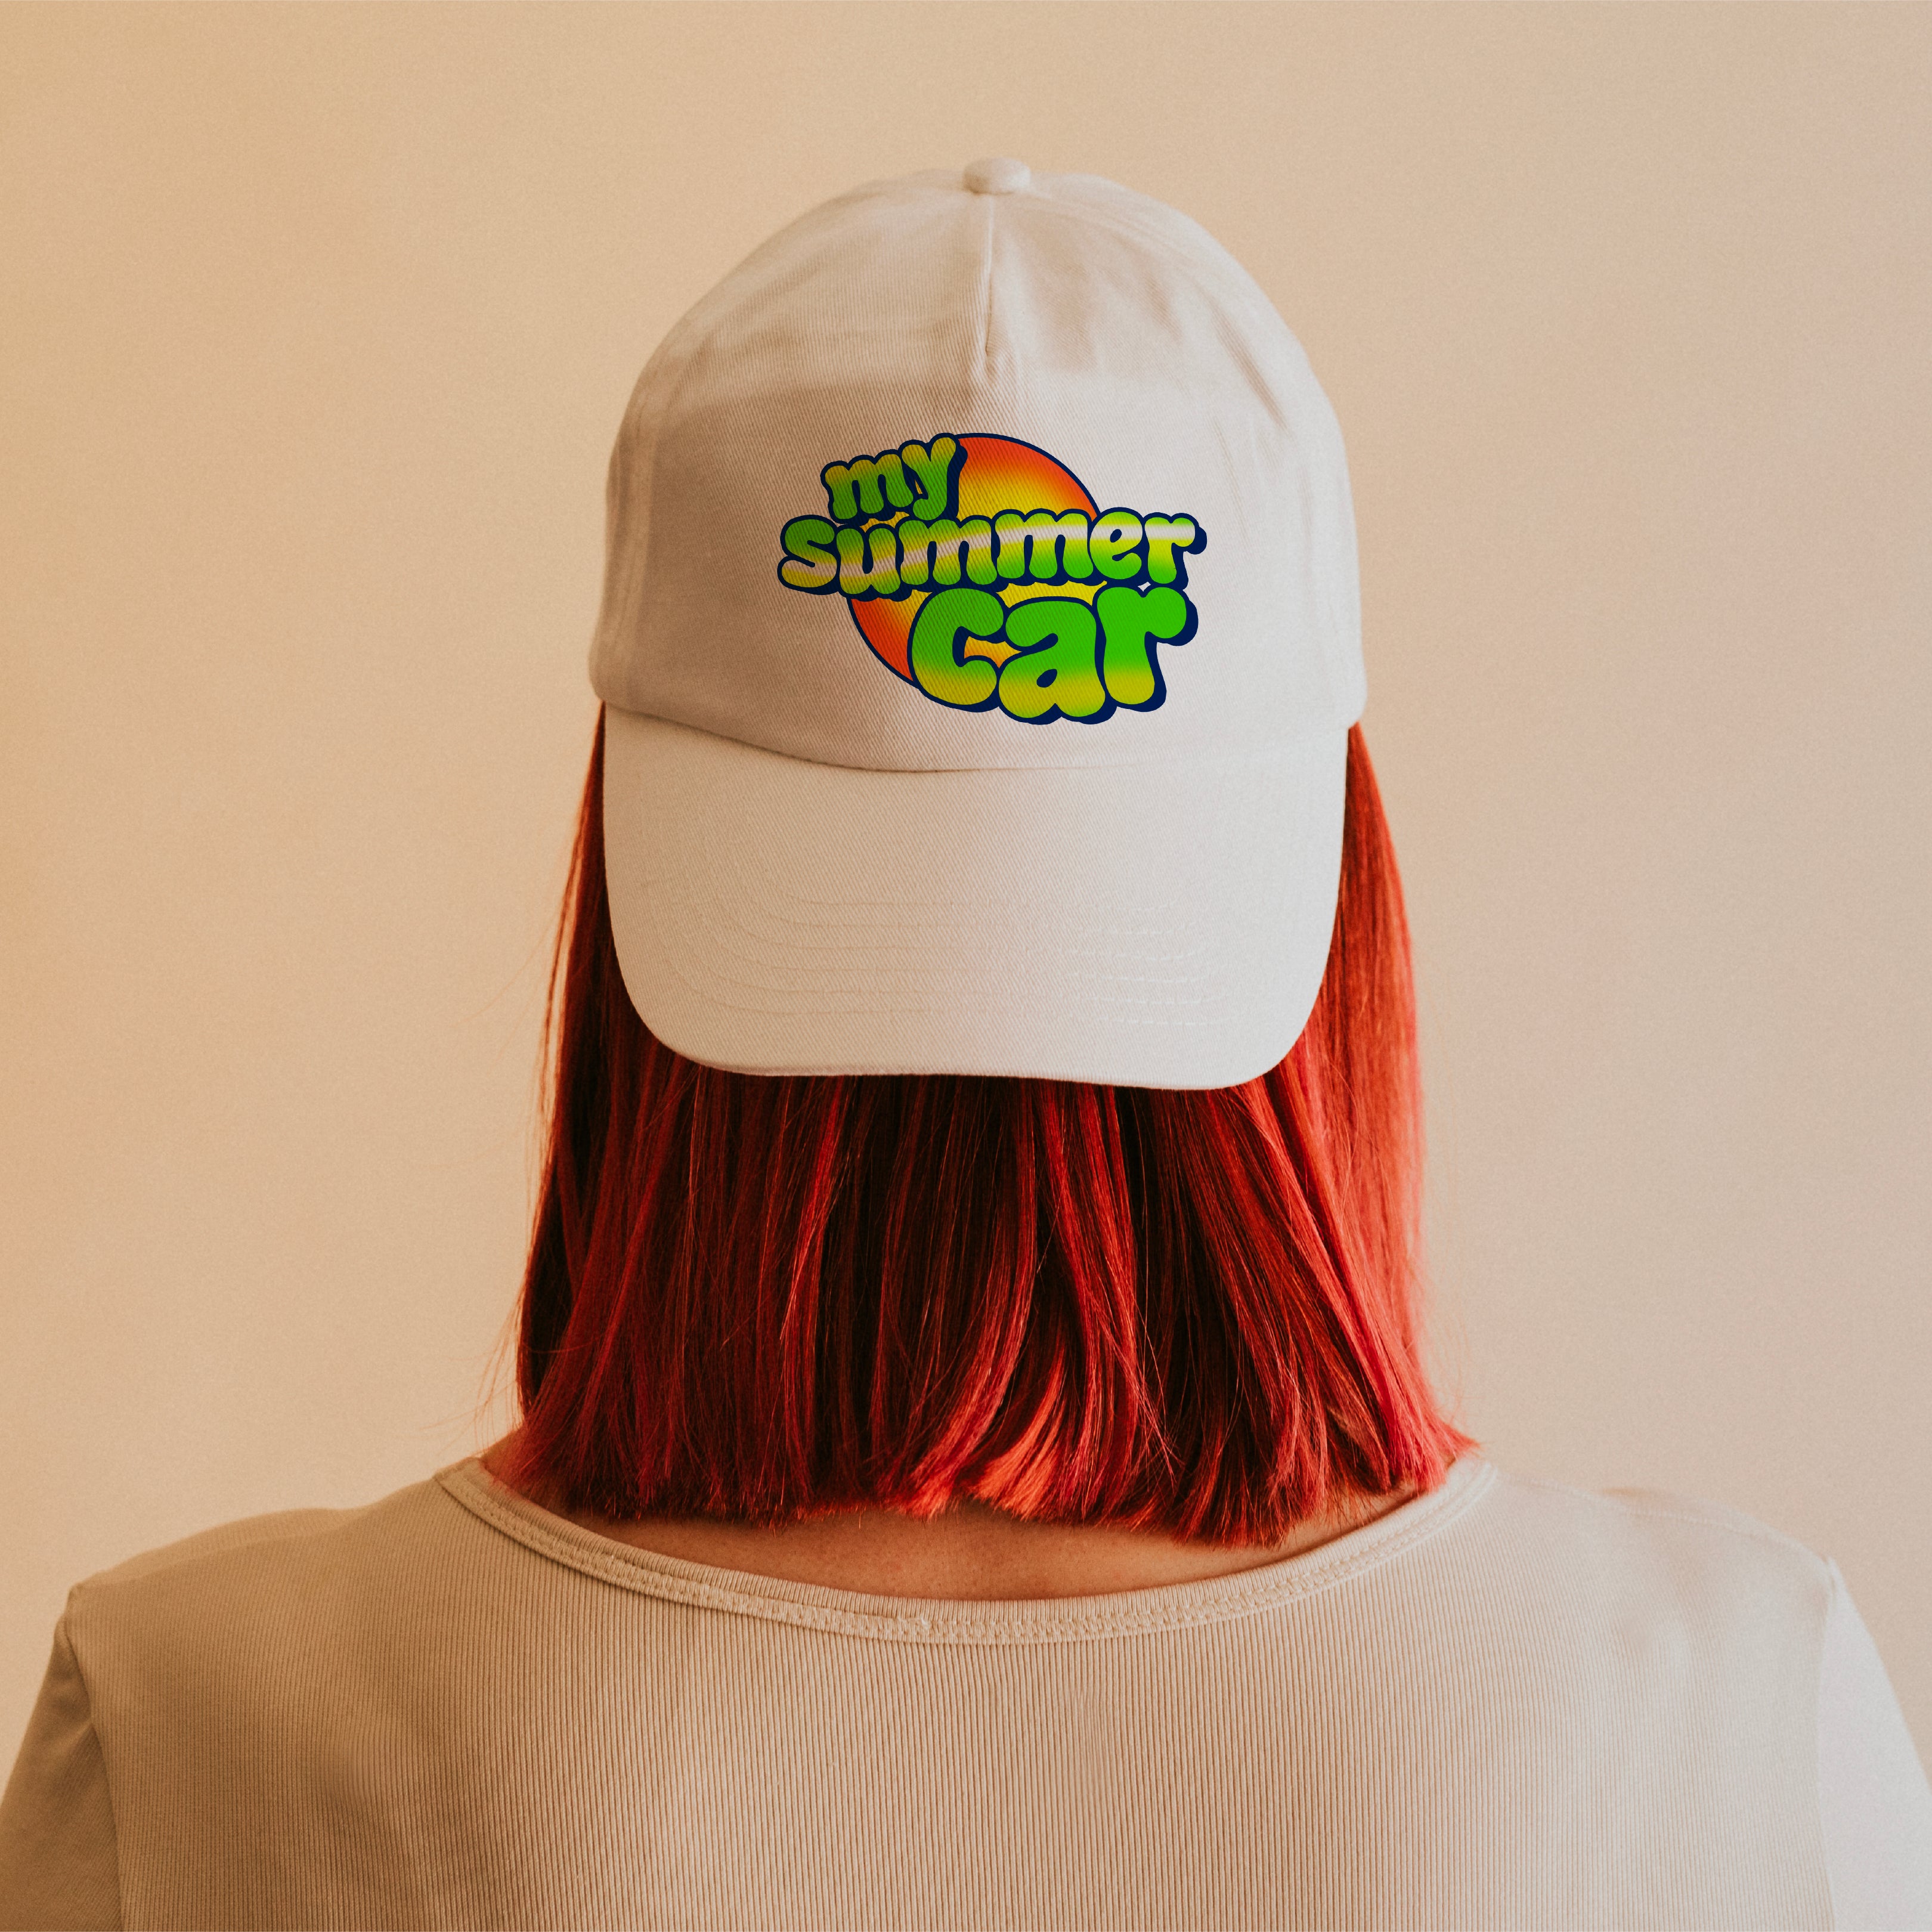
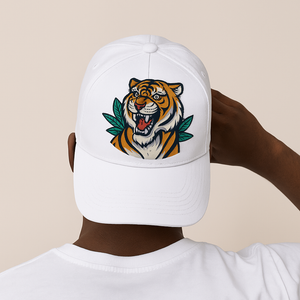
Professional DTF transfers for hats showcasing custom headwear excellence – Featuring high-detail, durable heat press designs on various cap styles with vibrant colors and precision branding for 2026 apparel trends.
Professional DTF transfers for hats showcasing custom headwear excellence – Featuring high-detail, durable heat press designs on various cap styles with vibrant colors and precision branding for  apparel trends.
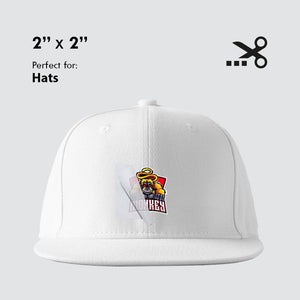
dtf transfers for hats 2*2
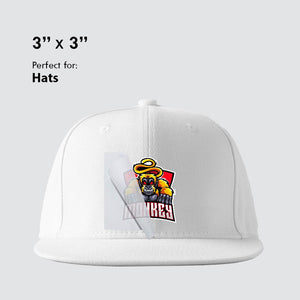
dtf transfers for hats 3*3
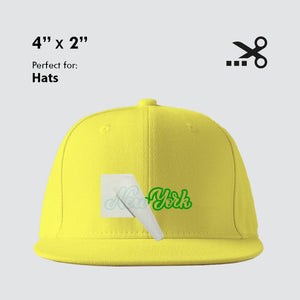
dtf transfers for hats 4*2
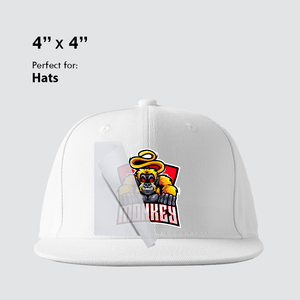
dtf transfers for hats 4*4
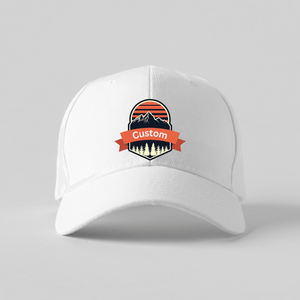
dtf transfers for hats custom
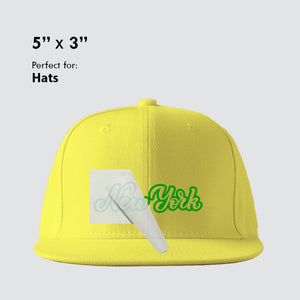
dtf transfers for hats 5*3
Professional DTF transfers for hats showcasing custom headwear excellence – Featuring high-detail, durable heat press designs on various cap styles with vibrant colors and precision branding for 2026 apparel trends.
Professional DTF transfers for hats showcasing custom headwear excellence – Featuring high-detail, durable heat press designs on various cap styles with vibrant colors and precision branding for  apparel trends.
dtf transfers for hats 2*2
dtf transfers for hats 3*3
dtf transfers for hats 4*2
dtf transfers for hats 4*4
dtf transfers for hats custom
dtf transfers for hats 5*3

DTF Transfers For Hats

Sale price $1.30

Note: Please include your phone number at checkout so we can reach you faster if any order-related issues arise.

  • Same Day Printing & Shipping
  • 24/7 Accessible Pick-Up Area
  • Same Day Print Cut-Off Time:
    Weekdays by 3PM EST – Saturdays by 1PM EST
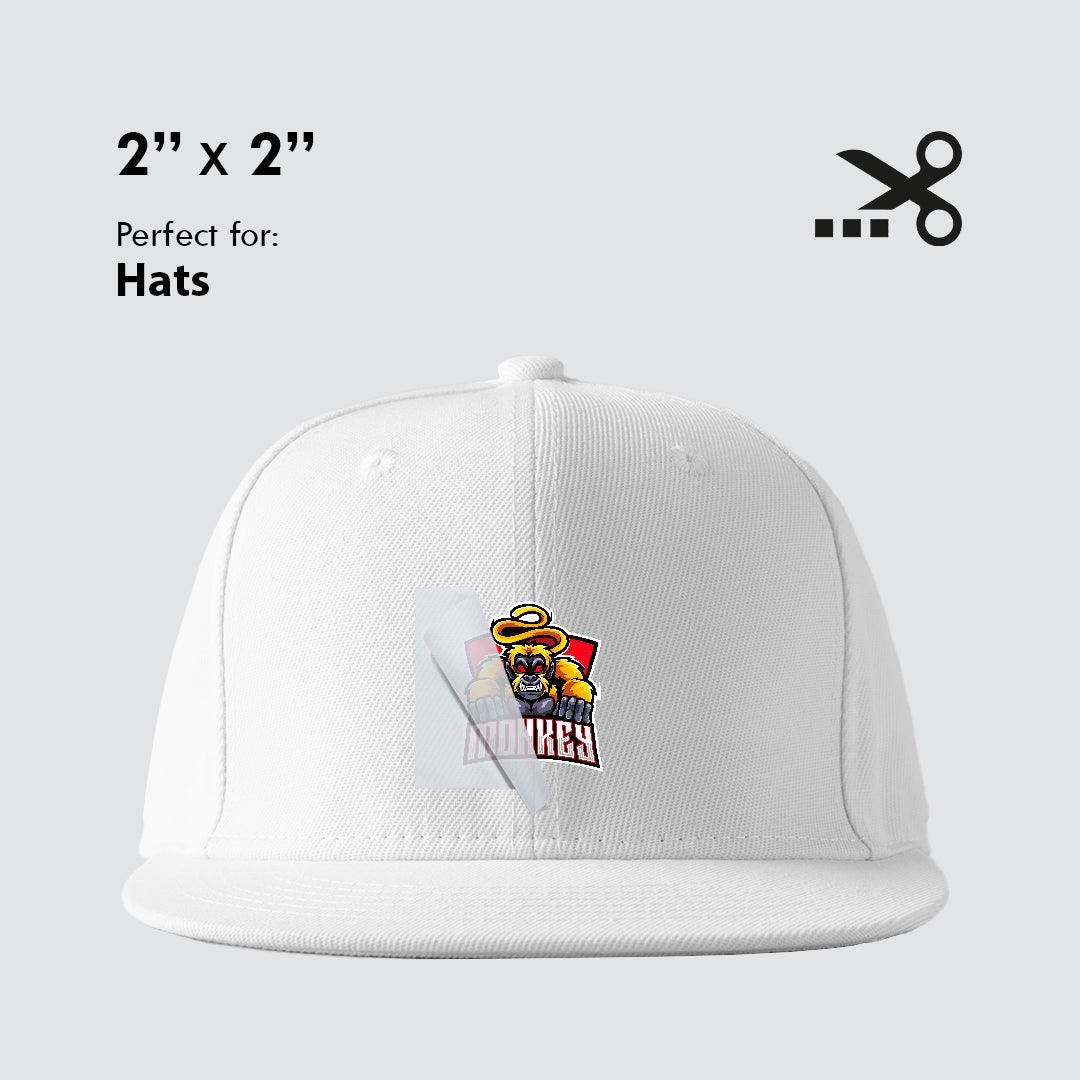
Size: 2" × 2"

Checkout with PAYPAL

PayPal

Estimate delivery times: Same Day Print, Next Day Delivery

Fast and Easy Pick-Up Service: Place your order for DTF and UV DTF prints, and pick them up at your convenience.

Guarantee Safe Checkout

Visa
Mastercard
American Express
Amazon
dtf transfers for hats 2*2

DTF Transfers For Hats

DTF transfers for hats provide a way to add full-color logos, names, graphics, or branded artwork to compatible headwear. Because hats have curved surfaces, seams, panels, and smaller print areas than standard shirts, successful customization depends heavily on choosing the right transfer size and placement before pressing.

Custom hat transfers can be useful for businesses, teams, events, apparel brands, promotional merchandise, and personalized headwear. The key is to prepare the artwork around the actual printable area of the hat rather than treating the front panel like a flat shirt surface.

What Are DTF Transfers for Hats Used For?

Hat transfers can be used for logos, team graphics, initials, names, event artwork, brand marks, and other custom designs. They are especially useful when the artwork includes multiple colors or details that need to remain recognizable within a compact print area.

Different hat styles can provide different usable spaces. Structured caps, trucker hats, unstructured caps, and knit headwear may require different artwork dimensions, placement decisions, and application methods.

Common Custom Hat Transfer Projects

  • Business branding: Add logos or brand marks to staff or promotional headwear.
  • Team hats: Use names, numbers, mascots, or club graphics.
  • Event merchandise: Create coordinated hats for campaigns, festivals, or group activities.
  • Retail headwear: Add custom graphics to small apparel collections.
  • Personalization: Use initials, names, or decorative designs for individual projects.

Choose the Right Transfer Size for a Hat

The transfer should be sized around the usable front or side panel rather than the overall dimensions of the hat. Seams, curved panels, brims, ventilation areas, and structural details can reduce the practical print space.

Before ordering, measure the intended placement area and decide how much surrounding space should remain around the design. This helps prevent the artwork from looking crowded or extending into areas that are difficult to press.

Check These Details Before Ordering

  • Finished transfer size: Record the intended width and height.
  • Hat style: Note whether the project uses structured caps, trucker hats, knit hats, or another style.
  • Placement: Decide whether the design belongs on the front, side, or another suitable panel.
  • Artwork readability: Keep text and fine details clear at the final size.
  • Quantity: Confirm how many matching transfers are needed.

Plan Artwork Around the Hat Panel

Hat decoration is different from printing on a flat garment because the printable surface may be curved or interrupted by seams. A design that looks balanced on a shirt may need to be simplified or resized before being used on headwear.

Logos, names, short text, and compact graphic elements often work well because they can fit within a smaller panel without losing readability.

Better Placement Control

Size the artwork around the actual hat panel instead of scaling down a larger apparel graphic without checking the available area.

Consistent Repeat Orders

Save the approved artwork, dimensions, hat style, and placement so matching transfers can be reordered later.

Order DTF Transfers for Hats

If you already know the artwork and intended dimensions, you can review the available DTF Transfers for Hats option and prepare the design around your specific headwear project.

Create Custom Hat Transfers

Choose the artwork size and placement that fit your custom headwear project.

Explore DTF Transfers for Hats →

Prepare the Hat Before Applying a Transfer

Before pressing, inspect the hat and identify the flattest suitable area for the artwork. Center seams, curved sections, thick stitching, and structured panels can all influence how the transfer sits during application.

The correct application method depends on the specific transfer, hat construction, and equipment being used. Time, temperature, pressure, peel method, and platen setup can vary, so one universal heat press setting should not be assumed for every hat project.

Basic Hat Transfer Application Planning

  • Inspect the panel: Identify seams and raised areas that could interfere with pressing.
  • Confirm placement: Position the artwork before beginning the application.
  • Stabilize the hat: Keep the intended print area supported and controlled during pressing.
  • Follow the transfer instructions: Use the recommended application settings for the specific transfer.
  • Inspect the result: Check placement and adhesion before repeating the setup across a larger order.

Hat Presses and Curved Application Areas

Headwear often requires more controlled pressure across a curved surface than a standard flat garment. The right setup depends on the hat construction and the location of the artwork.

If you need more detailed planning information, read the DTF Transfers for Hats application guide for additional guidance on sizes and best practices.

DTF Hat Transfers for Teams and Businesses

Businesses and teams can use consistent hat transfers to create matching branded headwear across staff, events, promotional campaigns, or merchandise collections.

For repeat production, save the exact artwork version together with the finished transfer dimensions, hat style, placement, and quantity. This makes it easier to reproduce the same headwear setup later.

Create a Repeatable Hat Transfer Specification

  • Approved artwork: Save the exact final file.
  • Finished dimensions: Record the transfer width and height.
  • Hat style: Note the specific type of headwear used.
  • Placement: Record the panel and approximate position.
  • Quantity: Keep the production quantity with the reference.

Choosing Artwork for Custom Hat Transfers

Because headwear usually has less printable space than shirts or hoodies, artwork should remain visually clear at a smaller size. Fine lines, long text blocks, and highly detailed layouts may become difficult to read when reduced.

For business branding, a recognizable logo or short brand mark can often make better use of the available area. For teams and personalized products, names, initials, numbers, and compact graphics can be easier to position consistently.

Frequently Asked Questions About DTF Transfers for Hats

What are DTF transfers for hats?

They are printed DTF graphics used to add custom artwork such as logos, names, numbers, or branded designs to compatible headwear.

How do I choose the right hat transfer size?

Measure the usable hat panel and choose dimensions that fit comfortably without interfering with seams, brims, stitching, or other structural details.

Can DTF hat transfers be used for business branding?

Yes. Businesses can use consistent artwork, transfer dimensions, and placement across multiple hats for staff, promotional merchandise, or events.

Do all hats use the same transfer size?

No. Different hat styles and panel shapes can provide different printable areas, so the transfer size may need to change between products.

Do all DTF hat transfers use the same heat press settings?

No. Application settings can vary by transfer, headwear material, hat construction, and equipment. Follow the instructions for the specific transfer being applied.

Where can I learn more about applying DTF transfers to hats?

Read the DTF Transfers for Hats application guide for additional sizing and application information.

Where can I order DTF transfers for hats?

You can explore DTF Transfers for Hats from DTF Print Depot.

Plan Your Custom Hat Transfer Project

A successful DTF hat transfer project begins with accurate sizing, suitable artwork, and deliberate placement. Measure the usable panel, prepare the design at its intended finished size, and save the final production reference if the same setup may be reordered later.

When you are ready to continue, visit DTF Transfers for Hats to prepare your custom headwear graphics.
DTF Gang Sheet

Width X Height:

22" X 6", 22" X 12", 22" X 18", 22" X 24", 22" X 30", 22" X 36", 22" X 42", 22" X 48", 22" X 54", 22" X 60", 22" X 66", 22" X 72", 22" X 78", 22" X 84", 22" X 90", 22" X 96", 22" X 102", 22" X 108", 22" X 114", 22" X 120", 22" X 126", 22" X 132", 22" X 138", 22" X 144", 22" X 150", 22" X 156", 22" X 162", 22" X 168", 22" X 174", 22" X 180", 22" X 186", 22" X 192", 22" X 198", 22" X 204", 22" X 210", 22" X 216", 22" X 222", 22" X 228", 22" X 234", 22" X 240", 22" X 280"

Transfer by Size

Width X Height:

1" X 1", 2" X 2", 3" X 3", 4" X 4", 4" X 2", 5" X 3", 5" X 5", 6" X 4", 6" X 6", 7" X 7",
8" X 8", 9" X 9", 9" X 11", 10" X 10", 11" X 5", 11" X 11", 11" X 14", 12" X 17"

UV DTF Gang Sheet

Width X Height:

22" X 6", 22" X 12", 22" X 24", 22" X 36", 22" X 48", 22" X 60", 22" X 72", 22" X 84",
22" X 96", 22" X 120"

UV DTF Transfers By Size

Width X Height:

1" × 1", 2" × 2", 3" × 3", 4" × 4", 5" × 5", 6" × 6", 7" × 7", 8" × 8", 9" × 9", 10" × 10", 11" × 11"

Optimize Your Workflow
Print smarter with gang sheets the perfect solution for combining multiple designs into one large-format print. Ideal for custom apparel, branding, labels, and more.


Large Format, Fully Customizable
Choose 22” wide sheets with flexible lengths from 24” up to 120” or more. Perfect for bulk orders, production runs, or testing multiple designs in a single sheet.


Print-Ready Files Only
We print exactly what you upload. Your gang sheet must be fully arranged, sized, and ready for production. No edits or resizing will be made unless requested in advance.


Premium DTF Transfer Quality
Enjoy vivid colors, sharp detail, and a soft feel with excellent stretch. Our prints are made to last durable through 60+ washes without cracking or fading.


No Minimums Order What You Need
From one sheet to one hundred, we support any order size. Whether you're a hobbyist or a production facility, we’ve got you covered.


Fast Turnaround Available
Submit your order with a print-ready file by 3:00 PM for same-day production. Choose local pickup or fast shipping during checkout.

Accepted File Types
We accept PNG (preferred) and PDF formats only. If your design requires it, make sure the background is transparent.
👉 Important: Do not upload multiple individual files. All artwork must be combined into one single gang sheet file.

Resolution Guidelines
For crisp, professional results, files must be at least 300 DPI. Low-resolution artwork may appear blurry, pixelated, or grainy when printed.


Print-Ready Files Only

What you upload is exactly what gets printed. We do not resize, rearrange, or edit your artwork.

Please double-check your file for correct spelling, colors, sizing, and alignment before uploading.

Bleed & Design Spacing

Leave a minimum of 0.25” spacing between each design to ensure clean cuts.

We do not auto-separate or trim designs unless you select the "Pre-Cut" option at checkout.

Match Your Selected Sheet Size

Your uploaded file must match the sheet size you chose (e.g., 22” x 60”).

Files that are too large may be rejected or scaled down, which can cause unwanted distortion.

Fixed Sheet Width

All gang sheets are printed at a standard width of 22 inches.
You select the length based on your needs — common options include 24", 48", 60", or more.

You Control the Layout

You are fully responsible for arranging your artwork within the gang sheet.
We do not reposition, align, or organize your designs.
Use tools like Photoshop, Illustrator, Canva, or any gang sheet builder to finalize your layout before uploading.

Scale Designs to Final Print Size

Each element in your file must be already scaled to the size you want it printed.
For example, if your logo should be 3" x 3", make sure it's exactly that size in the file.

Pro Tip: Optimize Your Space

Group similar-sized designs together to maximize sheet space and minimize waste especially useful for repeating elements like logos, labels, or tags.

Step 1: Cut Your Designs

Carefully cut around each design using scissors or a cutting mat.

Prefer a ready-to-press option? Select Pre-Cut during checkout (if available).

Step 2: Heat Press Settings

310–320°F (155–160°C)

10–15 seconds

Medium to Firm pressure

Use parchment paper or a Teflon sheet to protect the design during pressing.

Step 3: Cool & Peel

Let the transfer cool for 15–30 seconds after pressing.

Then, slowly peel from one corner for a clean release.

Step 4: Optional Repress

For a smoother, matte finish and longer-lasting results, cover with parchment paper and repress for 5–15 seconds.

Important Tip

Always test on a sample fabric or garment before full production.

Material types, humidity, and press variations can affect results.

Shopping cart

Search our site
Need some inspiration?
View all

Reset your password

Sign up for early Sale access plus tailored new arrivals, trends and promotions. To opt out, click unsubscribe in our emails

Log in

Register